Glider & Dethermalizer Timer Build
Day 1 building a Georgia Swift 19 balsa glider and a dethermalizer timer to release an airbrake flap. The flap is needed because this type of glider can catch a thermal draft and stay up for ten minutes or longer. The timer will release the crash landing flap after about a minute so the glider doesn't fly away forever!
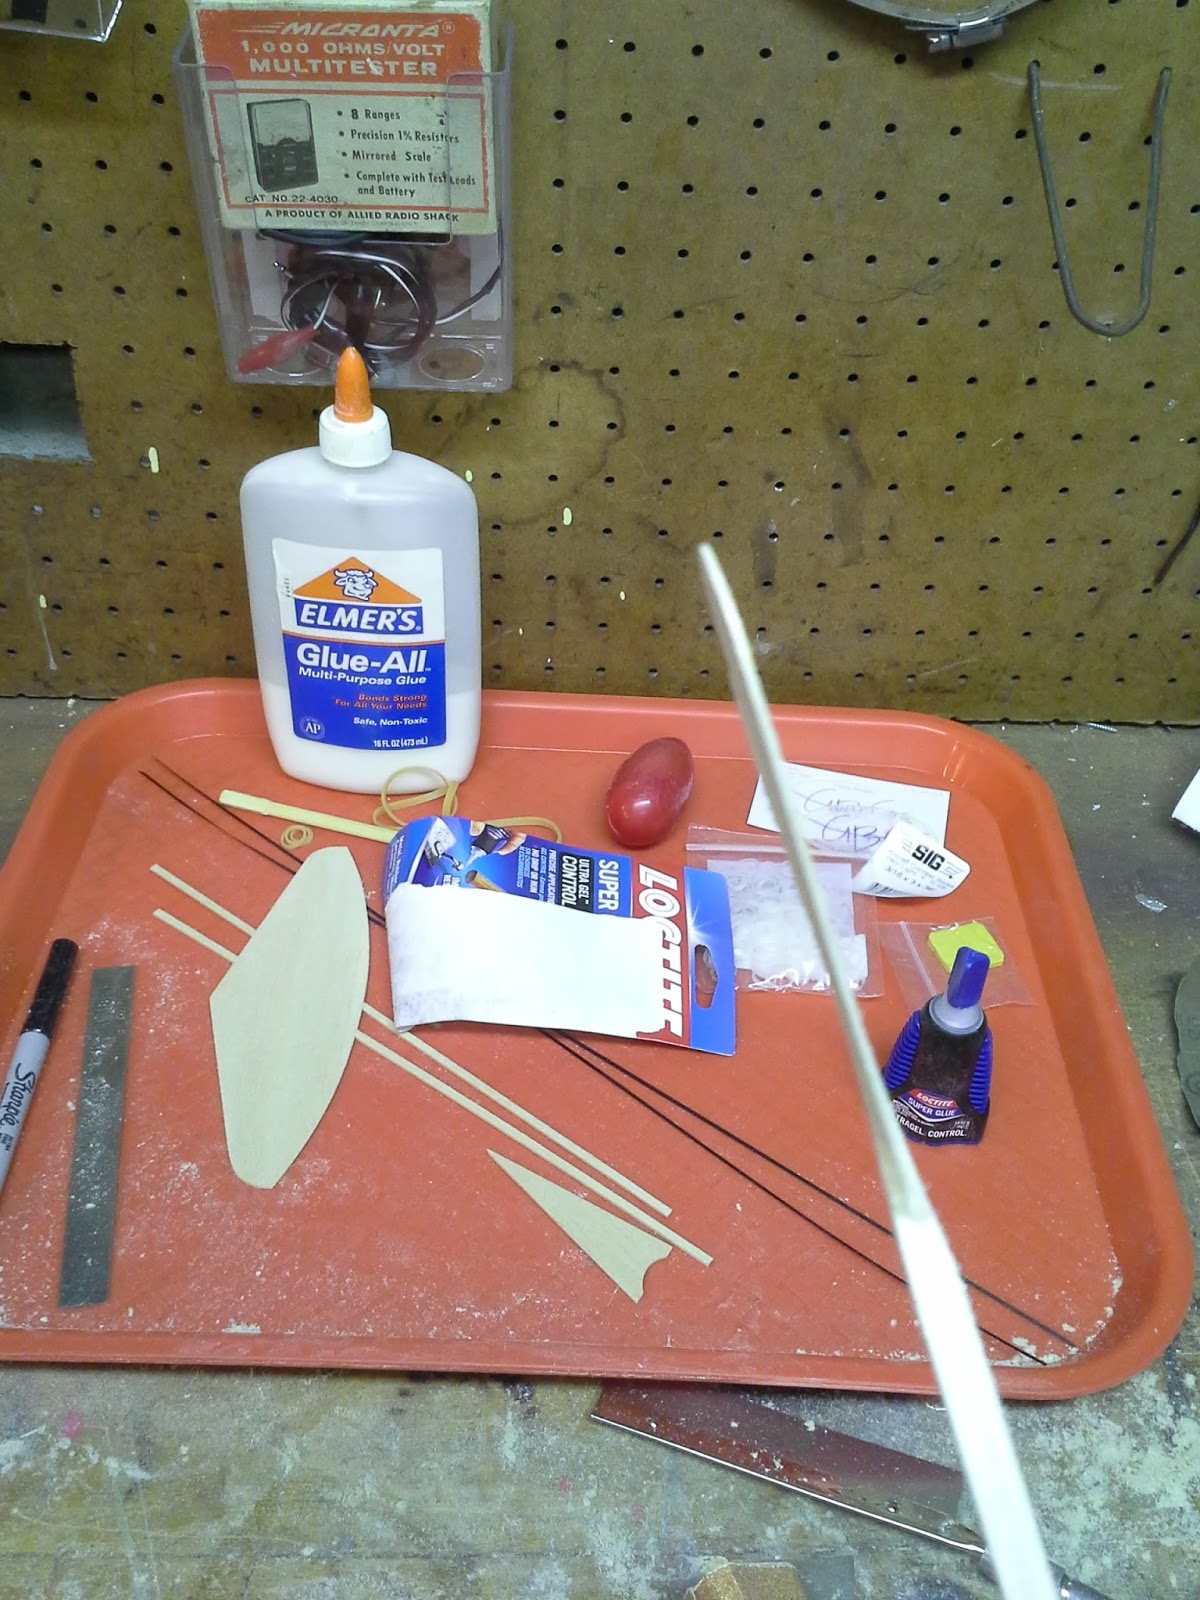
All the glider parts, and extra stuff (like Silly Putty!) for the dethermalizer timer. I went with Loctite CA glue instead of Elmer's. The Loctite is like Crazy Glue, only it's a little bit gel-like in consistency, instead of watery, making it easier to apply without running everywhere.

Here are the wings, boring and flat. I shaped each wing using 80 grit sandpaper, much like shaping a surfboard.

The wing airfoil profile should be a Wittman SS4 "supersweep" shape. The wing is thicker in the center, thinner at the front of the wing, and paper-thin at the trailing edge. Ron Wittman took the balsa glider world by storm the year I was born, using his blunt-nosed, high in the middle wing shapes. His glider stayed up for almost 55 seconds. He set a world record!

The 'preferred' method of shaping is to lay a line of pins in an arc from tip to base denoting the high spot. Then you sand away from that. I used a drawn line. The ruler goes from a marked point on the tip to a marked point where it touches the leading edge. Then from that mark to the base. This is very easily reproduced on the other wing by just transfering the two mark points--then you just connect them with the ruler.

The leading edge is getting rounded off.

The wings started out as balsa "planks" that were uniform thickness. Much like a popsicle stick when viewed edge-on. Here you can see the airfoil form starting to take shape.

Here's where it gets totally awesome: the wings join in a 'V" shape at the center. Then I cut off the last 1/3 of each wing and sanded those edges so that when they were re-joined back in place they'd also form a "V" shape. The wings as a whole, also aim upward, while the nose points down. Kind of like it you're driving down the road and the front hood of your car opens up--it'll try to fly away: and this forms a dihedral wing. Actually I think this may be a double-dihedral (or maybe even a triple with all the Vees?" My radio control plane has dihedral (upswept) wings on it. Dihedral makes it harder too steer (which is why jet-fighters have zero dihedral) but it makes the craft float on the air, almost like a hot-air balloon. Very little effort is expended in getting an aircraft with lots of dihedral angle in the wings up in the air and keeping it there--a jet figher on the other hand doesn't glide, they tend to fall out of the sky on lose of power. Basically jet-fighters are like flying a cinderblock, given a strong enough jet engine it'll go up. If that engine conks out it falls almsot straight down. This design is the opposite of that!

Rudder joined to the rear of the fuselage. I kinda screwed up here. I shaped the sides of the fusealge really, really thin. Almost as thin as the rudder. This severely weakens the rear, although later on I glued carbon fiber strips along the sides, which severely strengthened, so it worked out.

Here's another photo of the really thinned-out rear fuselage. You can see here that the rudder and the fuselage are the same, near paper-thin thickness!
I located the area under the wing where the center of gravity should be, and I poked a nail through it sideways.

I then balanced the plane on an open vice on this nail. The more clay I added to the nose, the more forward it rolled. Like a teeter-totter! I got it pretty well balanced with yellow clay on the nose. After I add the dethermalizer apparatus I'll have to re-balance, but that's just adding or removing clay from the nose.

Carbon fiber strengthening strips. I cut them short so I could add extra pieces to the ultra-thinned out tail section.

The nose slopes down, and the wings point upward: dihedral. Then the wings "V" up at the center and each winglet tip. Plenty of lift!

Here is my new baby completed and test flown in one evenning! You can see the nose and fuselage sloping downward while the wings are angeled backwards. You can also see in the photo the three Vees: center and each wing tip.

So, how does it fly? Well, it's 1 degree Farenheit outside and windy and snowy. I've seen videos posted by the owner of Georgia Balsa Gliders posted on YouTube where he lobs it up into the air and it catches a thermal and stays up for quite a scary amount of time! I went outside and tossed this plane as weakly as I could, like dumping a kitten onto a bed for a nap--the plane sailed like a laserbeam at a (luckily) low and decreasing incidence to the ground. I have no doubt that if I chucked this glider with the same vigor I'd use on a regular paper airplane I'd be lamenting the fact that this thing entered the stratosphere and sailed out of sight! It really wants to glide up and away!!
The Dethermalizer Timer

I found many plans online for "Silly Putty Dethermalizer Timers" that were similar. Martin Gregorie has a fantastic how-to build guide online with tons of background information. The best pictorial build guide online is by Tony Matthews. This is where I got my plans from. I modified the plans and workflows a little to suit my habits--also my end cap where the trigger arm attaches has a 1/8" tube over the 3/32" tube. I did this for looks (since I was having fun!) but that adds unnecessary weight and also makes the trigger end the same width as the rest of the assembly so it may rub against the fuselage if you're not careful on installation. The extra tube there does look awesome and really made it easy to drill the hole for the trigger. Without it I'd have been drilling directly into the 3/32" tube which would be a real bummer.
As you know from previous posts I've manufactured my own various non-newtonian liquids and putties in the past, but I went with the store-bought variety: peach putty in a red egg.
I also picked up three telescoping sized aluminum tubes: 1/8", 3/32" and 1/16" outside diameters. I cut them easily by rolling an Xacto blade on them and they eventually go shooting off.

Cutting them all to shape.

Crush the last 5/16" of the 1/6" tube into a flat paddle.

The paddle, which will be swirling within the Silly Putty. This will do two things: slow the timer's spin rate; and give a very consistant spin rate. It's a timer after all. It will be powered by dental brace rubberbands. You can get different sized bands for different pull strength-which means different amounts of time before the timer goes off.

A tiny piece of 3/32" tube goes over the paddle tube to act as a bearing.


Here's the paddle tube and bearing tube assembly placed inside the big piece of 1/8" tube. You can see the paddle inside. The paddle area will be filled with Silly Putty and then capped off.

My father gave me this awesome mini-vice today! It's on a wooden base with three long strips of wood. The outside two act as regular legs. the third one can be clamped into a larger vice--like it is here. Brilliant!
Not to get too confusing, but that silver drill tool is also called a vice. It's a 'pin-vice' that holds tiny drill bits the size of a pin. Spin it in your fingers and you can drill stuff. I've used this one before--it was particularly handy when I was building my submarine (featured in my other blog about the U-2540 Wilhelm Bauer) and when I was making a teeny-tiny ship in a glass bottle.
\

I cut a small safety pin apart with wire cutters to get the rubberband holder / trigger part.


Packing the paddle end of the tube with Silly Putty. This turned out to be the hardest part!

The open end of the tube was filled with Silly Putty. Turning the trigger to set the timer made the Silly Putty run out of the tube. I need a plug. I had a dowel that fit, but the Silly Putty kept squeezing past it! So I took a wooden match stick and rotated it into the tube.

Here's a photo of the shaped match stick. It's only about 3/32" long. I cut if off and then glued and hammered it into the Silly Putty end of the timer assembly.

Here's the finished timer. What a beauty! A rubberband pulls on the trigger arm. The Silly Putty inside slows its turning. Eventually the arm rotates enough and the rubberband falls off--this frees up a dethermalizer / airbrake flap which causes the glider to slowly fall out of the sky. Since I can't turn off the wind-I have to turn off the aerodynamics of the glider to get it out of the sky.

The paper thin tail section of the plane warped as it was drying from it's coat of sealant. It was getting less and less warped as it dried, but for good measure I found a metal plate and flatted the tail using two huge and heavy magnets I took off some old stereo speakers a neighbor threw in the garbage.

There's the flap I cut out from some roof flashing metal. You could also just use some metal from a tin can--which might be stiffer and better. It'll be mounted on the side of the fuselage. The tail-end will be glued down to act as a hinge. The end nearest nose of the glider will not be glued. It will be held down by a dental rubberband attached to the dethermalizer timer. Once the timer goes off and the rubberband slips away the flap (which is facing forward into the wind) will be free to flap out sideways and cause the airplane to (softly) crash land. This setup keeps the plane from flying too far away.

That's quite a day's worth of work! I originally didn't care about the glider and just wanted to build a dethermalizer timer. Now that I built the glider I really like it and don't want to cut into it to mount the timer and flap! But I'm afraid to fly the glider without one. Next Sunday I'll work on this again and decide what to do.
Check back here for either: a video of my timer-less glider sailing out of sight forever; or of my beautiful glider with the dethermalizer apparatus hacked onto it.
Decisions, decisions...

Throw it to me! I can catch it good.


