I use my phone to "feed" my radio--thus it's in the little cubby hole center console deally. If I ever lock myself out of my Maverick, there is a 95% chance my phone (which has the free Ford app that can unlock/remote start) will also be inside.
I am, uh, locksmith "adjacent". I have a house-key cutting machine, lock picks, safe drills, etc. How I make my money (other than being a Librarian) isn't the concern of this post. GETTING LOCKED OUT IS!
For 25 years I had a cheap key in my wallet for my Ranger. It didn't have a microchip in it--so it couldn't start my Ranger, but it could unlock the door. I wanted the same for my Maverick--just the blade, not the FOB. Also it would be handy since I lock my tailgate (so no one steals it) and didn't want to run back inside to grab keys just to lower the tailgate.
A normal person would have taken a photo of their key and sent it off online to get a copy cut from that. Not me. I wanted to have a little fun--and was willing to pay for it. A nice excuse to buy a fun new tool. So:
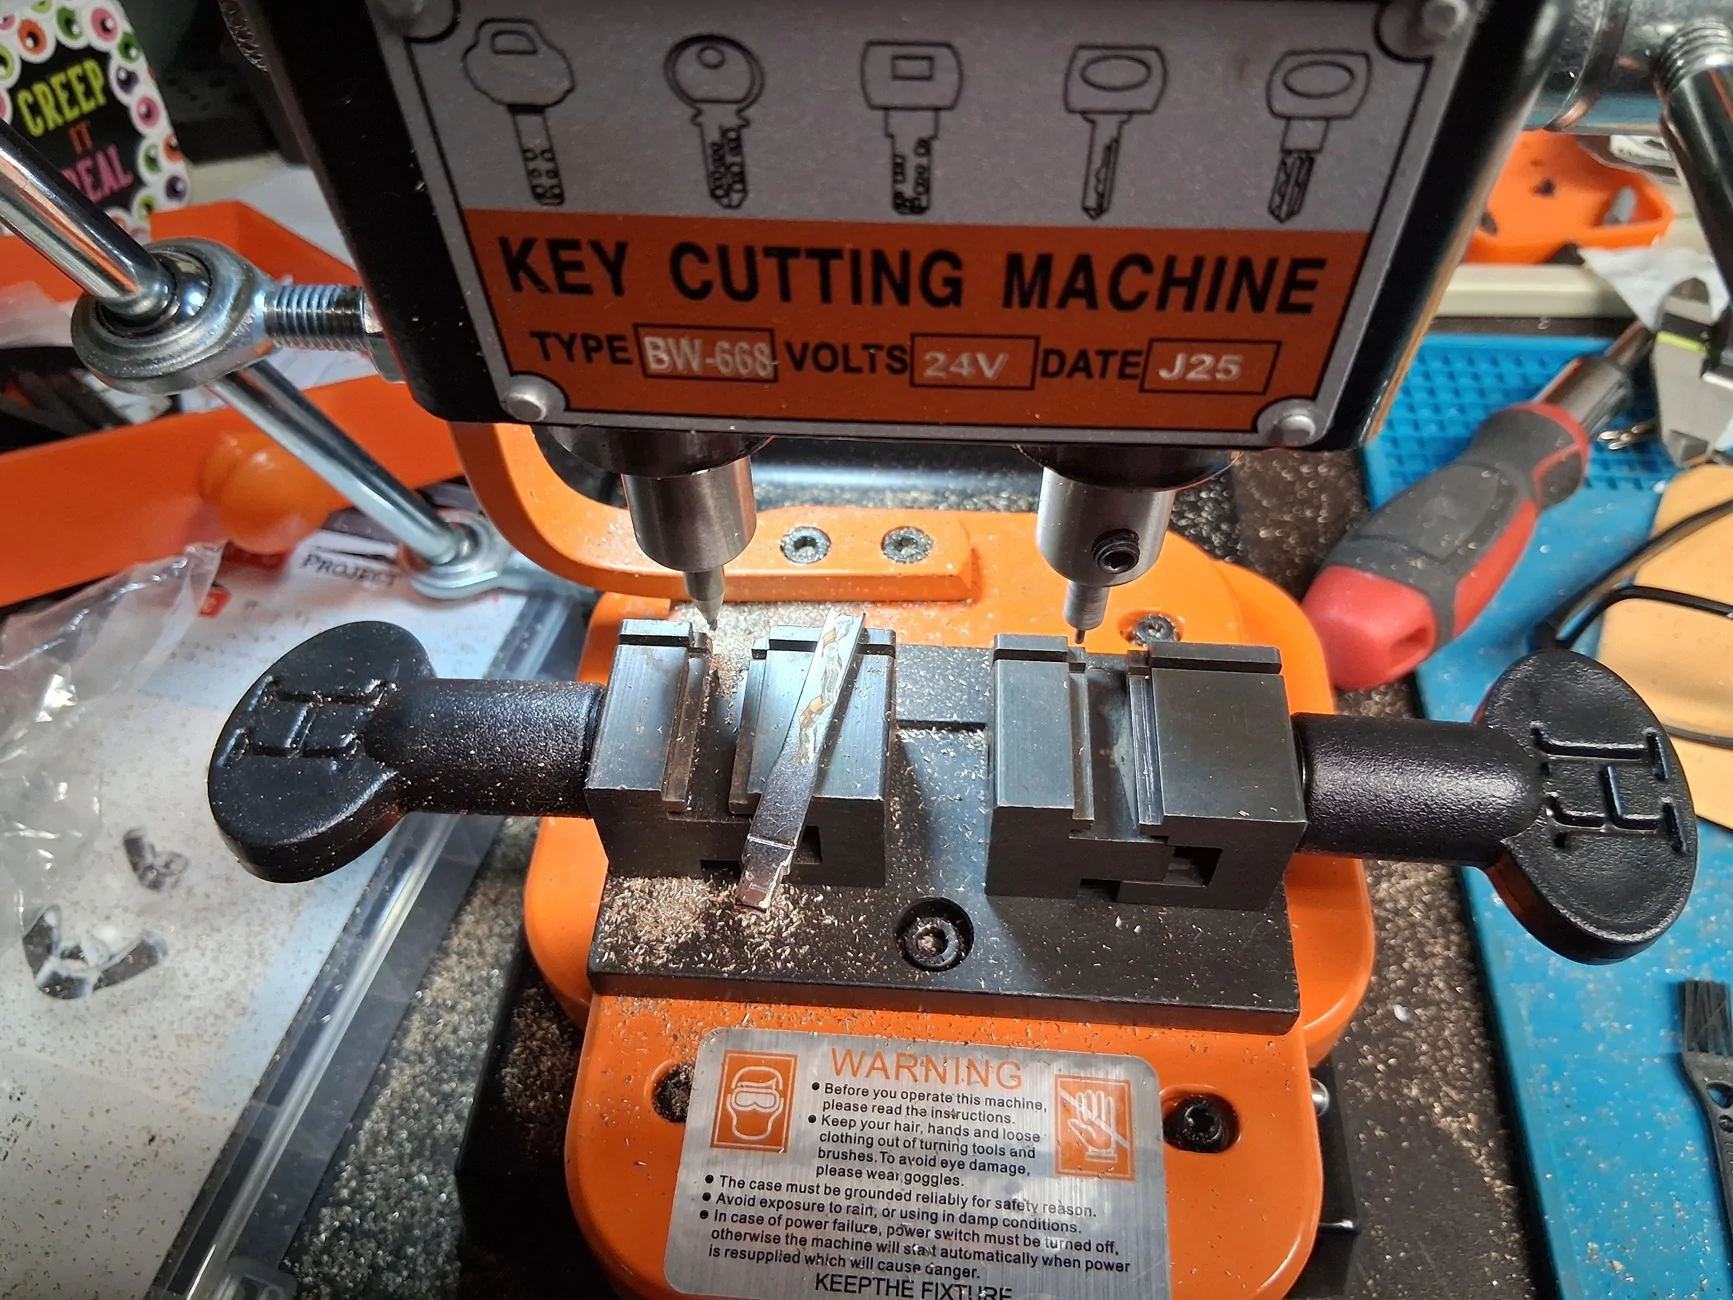
I bought a cheap, commonly available vertical (laser) key cutting/duplicating machine. plus the all important 15 item accessory kit that you can't use the machine without.
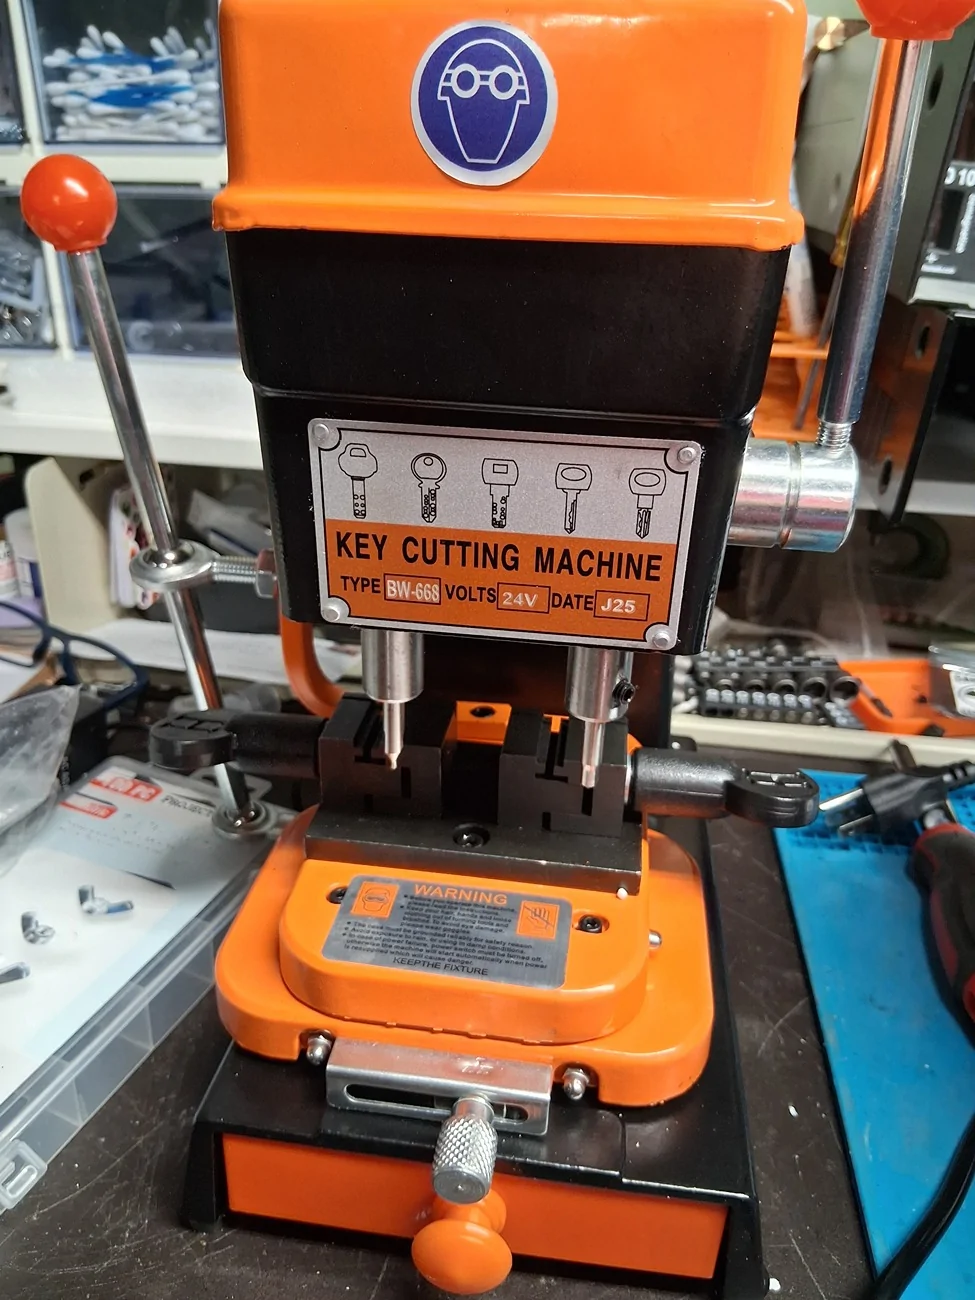
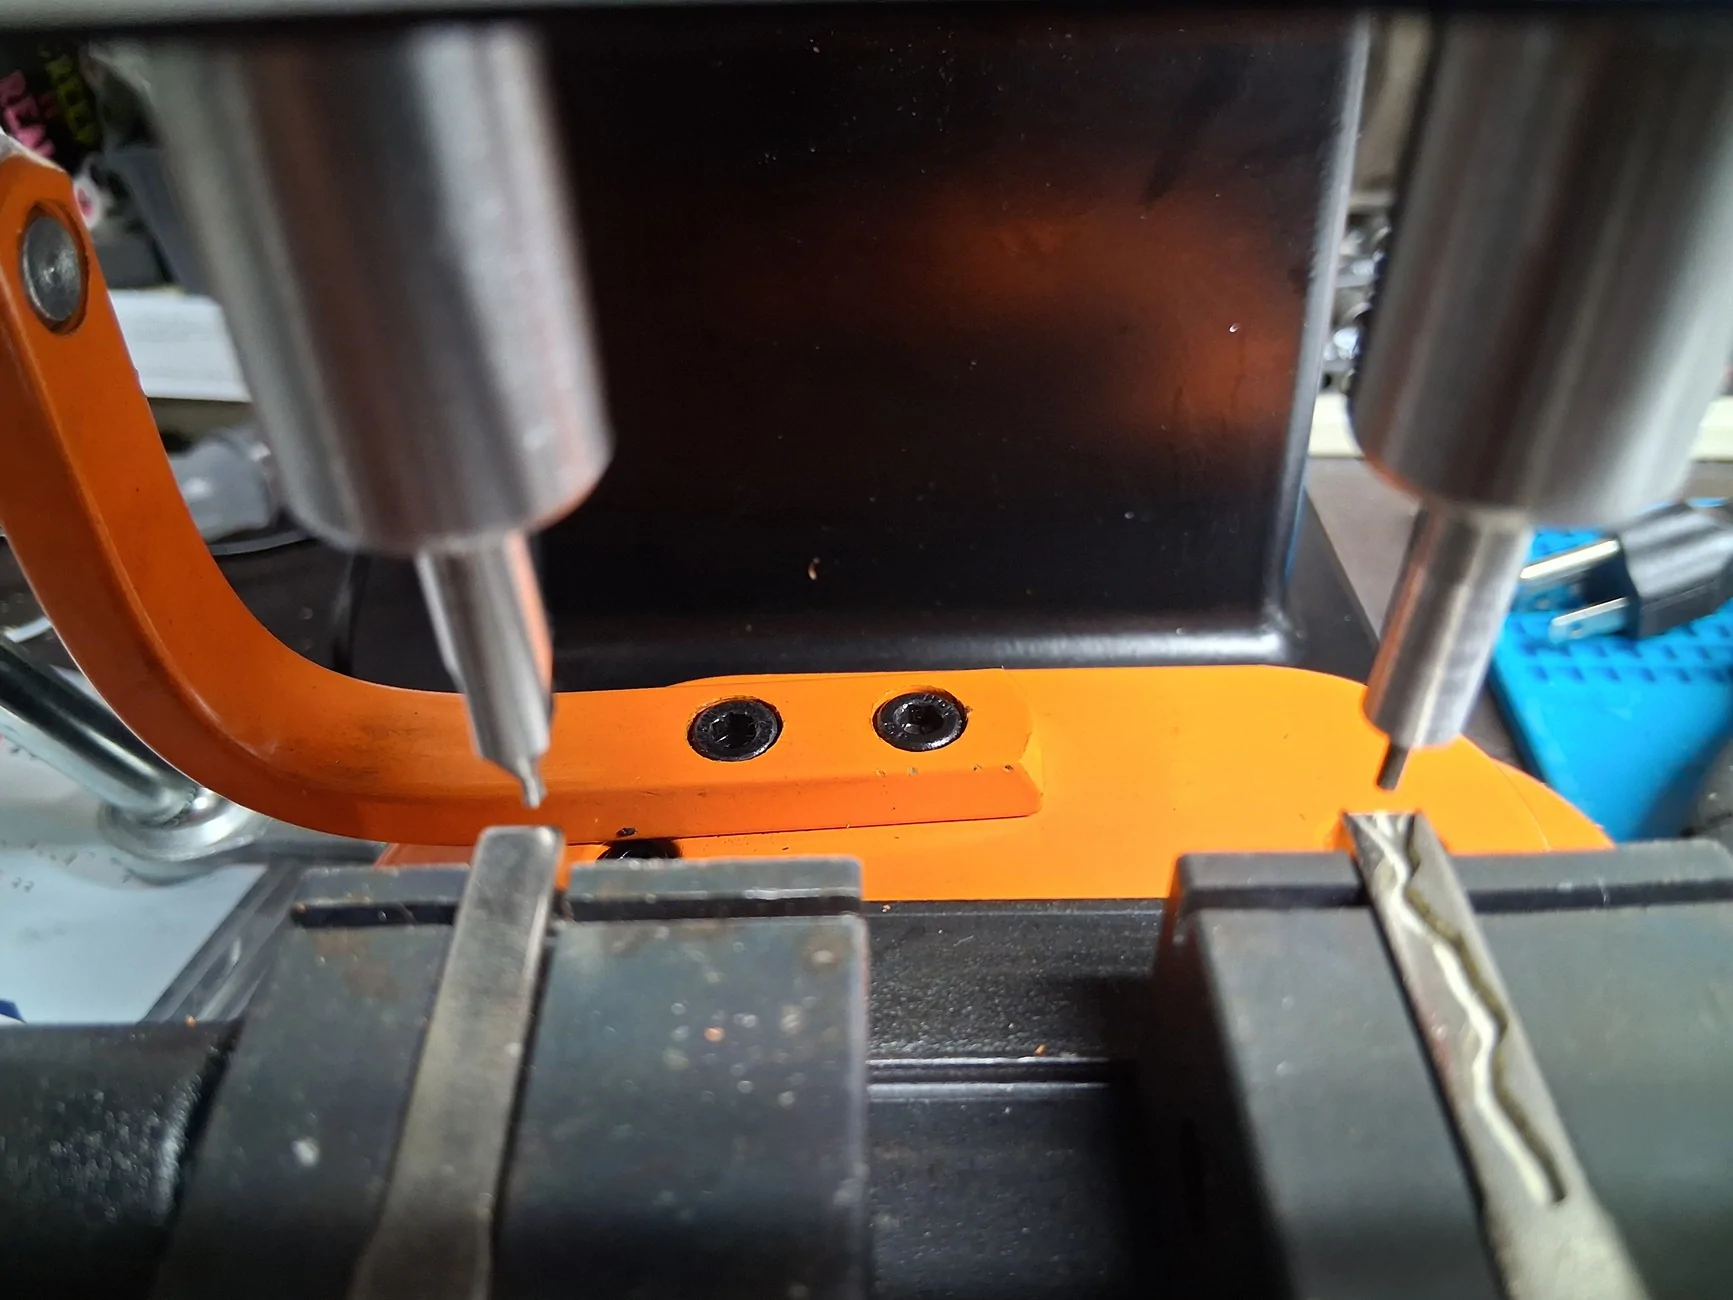
On the left side: The machine has a cutter (end mill for channel/snake keys like ours or insert a drill for those keys with the dimple/holes in them). It only comes with the drills. You have to buy the accessory kit to get the needed end mills for cutting channels. This spins in the machine and cuts into the blank.
On the right side: is a guide pin. You change the guide pins to match the side of your end mill (or drill). The guide pin traces the path of your original key.
Inserting the key and blank:
-There is a metal "L" shape you can place in the clamp and bring the key forward until it hits it, then tighten the clamp. Well, our Maverick keys need to go into the absolute bottom of the clamp trough, so that doesn't work great. I just lowered and locked the tracer guide pin and cutter down and slide each key forward until it touched them--then tightened.
Tracer guide pin and end mill install:
-Tighten the end mill on the left. For our keys the thinnest one (1.5mm cutter on a 6mm shaft) is the one. This is a little over half the width of the key's internal "channel" cut.
-Bring it down onto the blank and then tighten the lowering lever on the right of the machine.
-Pull the end mill (or drill bit) down with your fingers onto the uncut flat part of your original key, and tighten the Allen key bolt to lock your cutter.
-Use the left Etch-A-Sketch-like lever to scrape the cutter along the center top of your blank. It should leave a nice scratch down your blank that lets you know the blank is mounted level.
-Loosen the lowering level, move your tracer pin on right to the tip of the original and about the level of the lowest part of the channel and tighten lock-knob of the lowering level to keep it in place.
-Turn on the machine to a slow/medium speed for steel keys (like Maverick) or fast for aluminum. Pull the left lever so the tracer pin follows one side of the inside of the channel on the original (which will cut a concurrent pathway into the blank key). Watch the original and tracer--not the key you are cutting.
-Shut off the machine, back the tracer/cutter out; brush out the metal shavings.
-Restart machine and cut again while hugging the other side of the channel. Clean.
-See if you can lower the tracer guide pin a tiny bit and redo both cuts to get it at the proper depth.
-Now flip both keys and do the other side.
Issues:
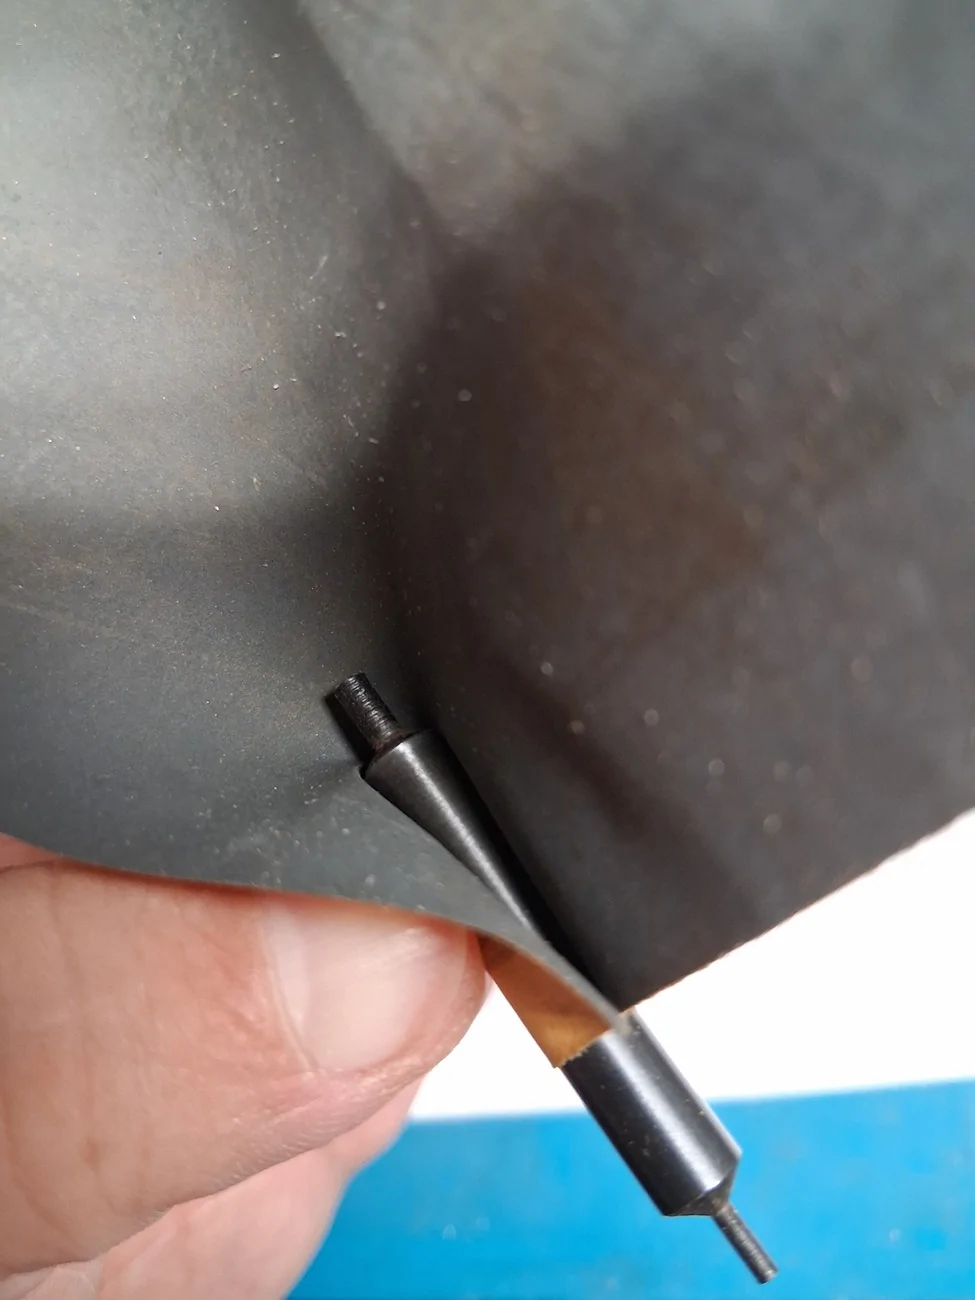
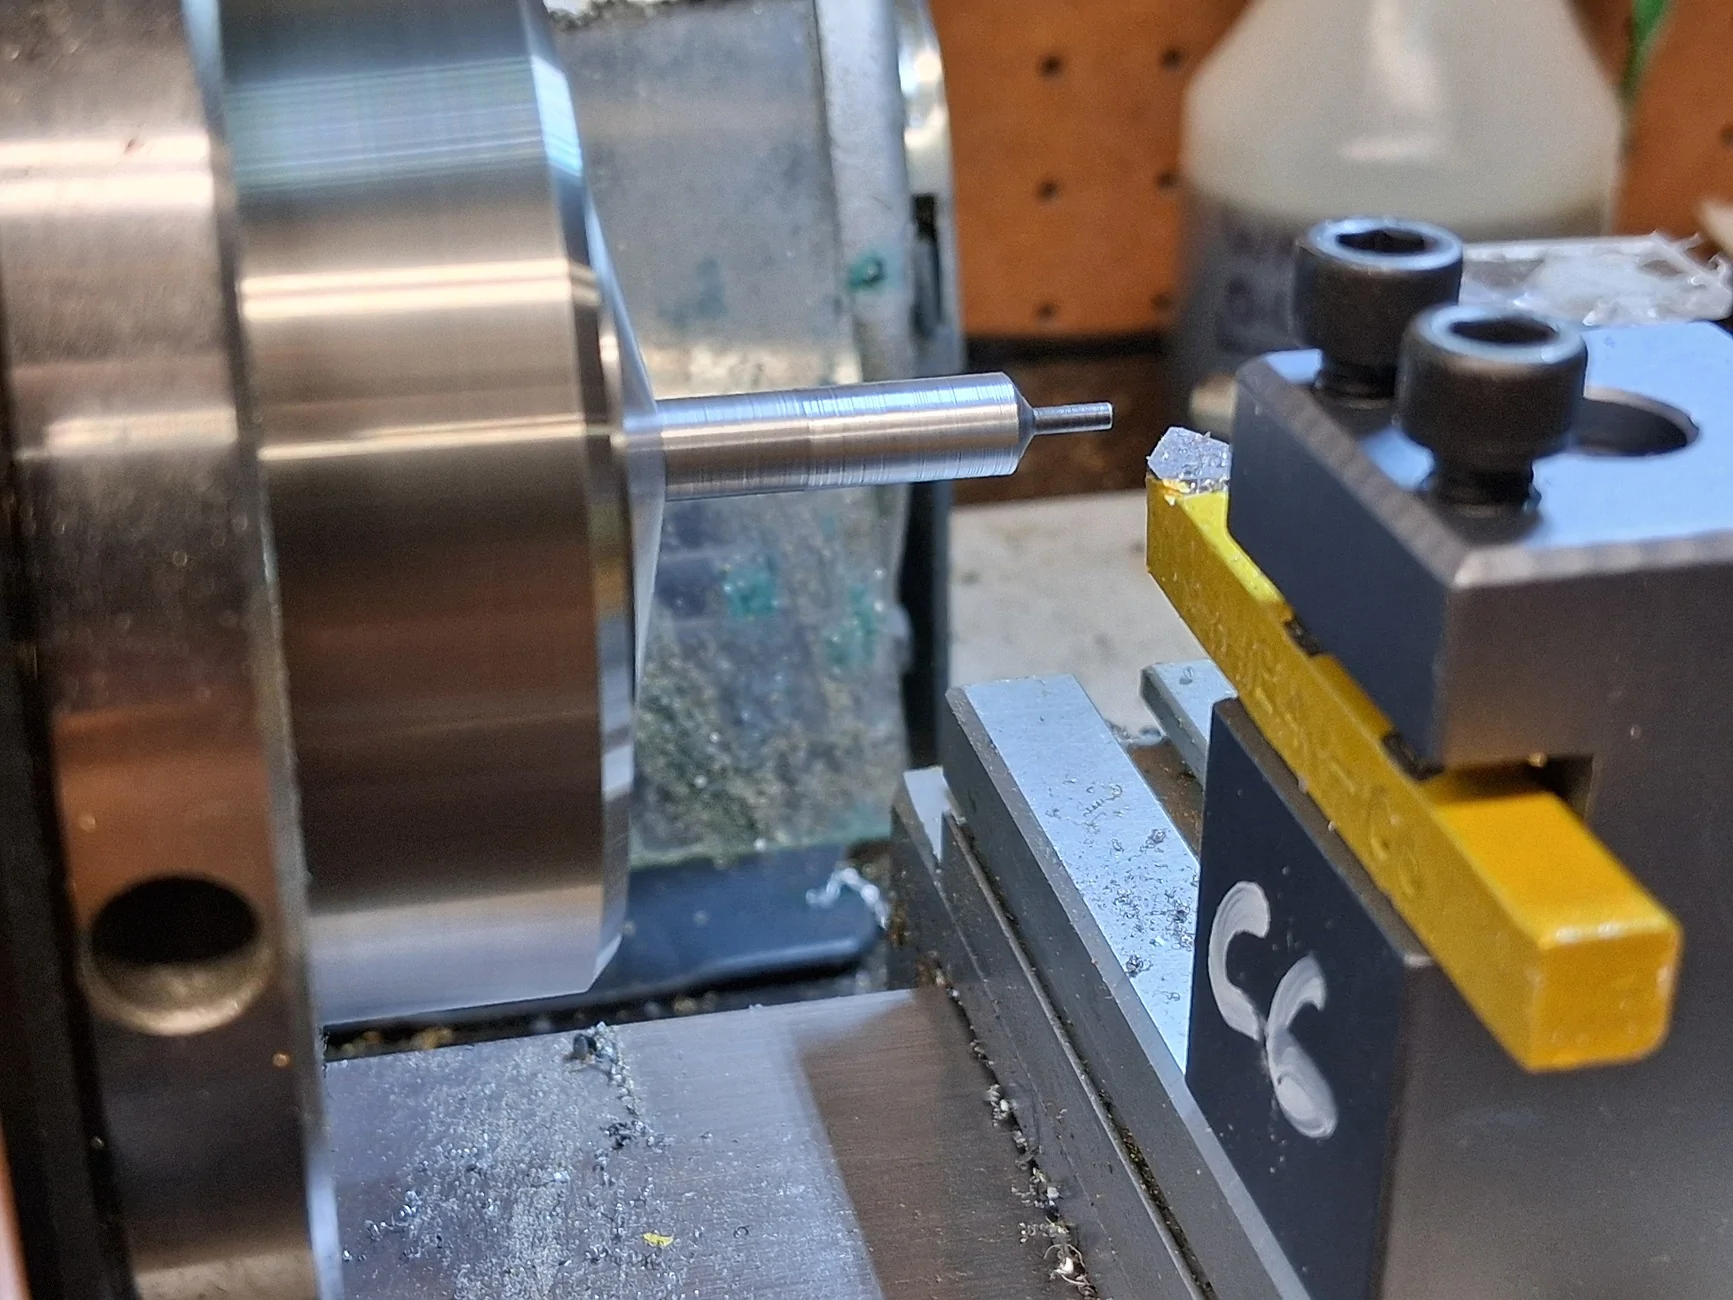
-The tiniest guide tracer pin for the 1.5mm diameter cutter was a smidge to big to fit into the machine. One of those came with the machine and one came with the accessory pack purchased separately. Both were too big. I suppose you could fit it into a hand drill and sandpaper it down from 6.02mm to around 5.94mm to fit into the machine. I have a lathe so I just did a light pass.
The photo makes it look like the large 6mm shaft of the guide tracer pin is angled, that's just an illusion, it's just a straight shaft:
Sand paper option:

The knob that locks the lowering level (z-axis height adjustment) was just rattling loose inside the machine. Just thread it into the hole in the upper left side of the head of the machine. The nut and washer were also rattling around in there--not needed.
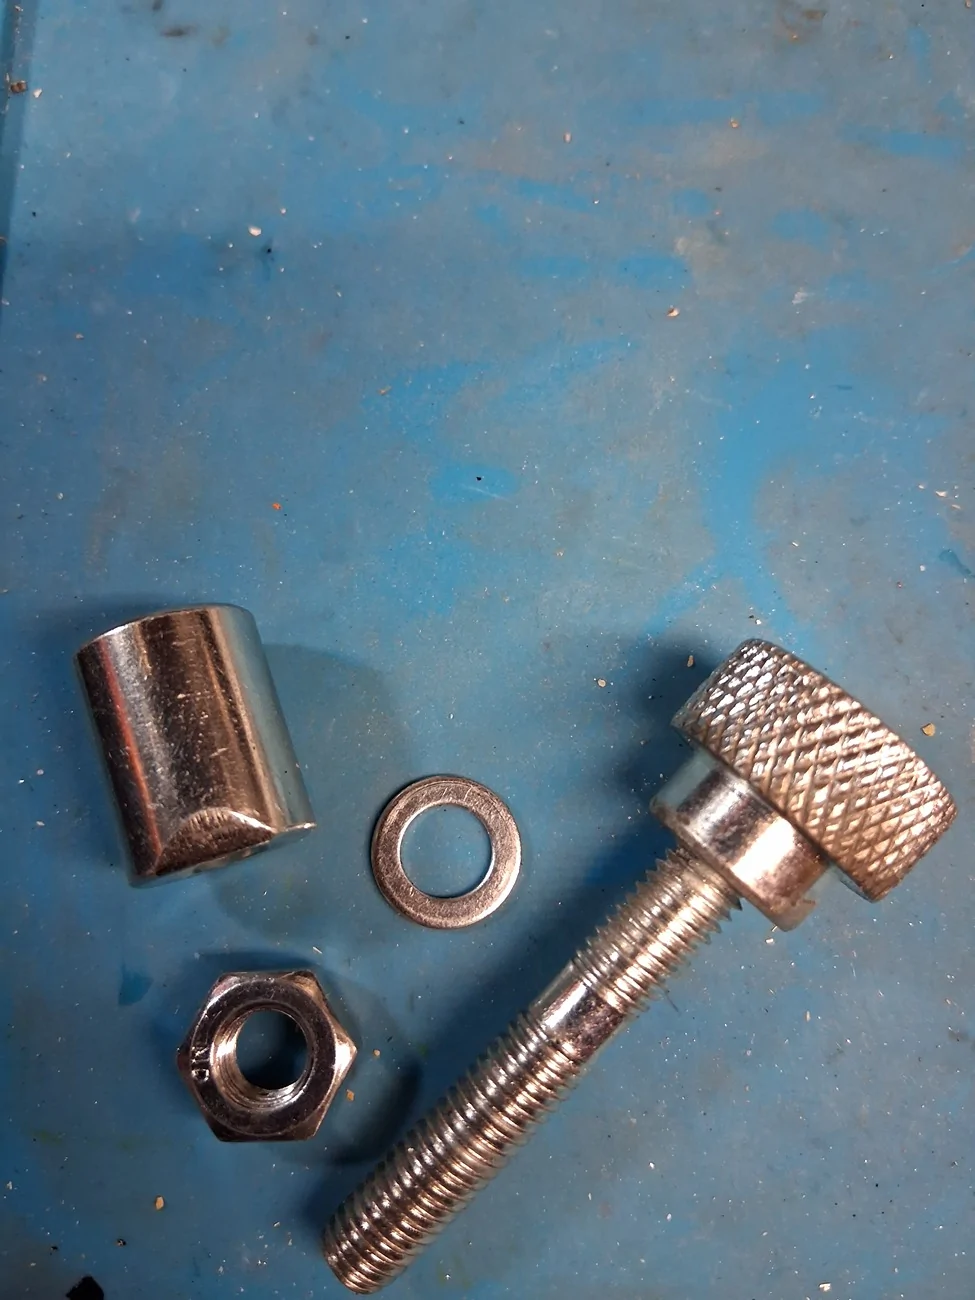
These machines routinely come with a washer and nut installed where you are supposed to install the left and right knob clamps. Completely remove the nuts (leave the washers on each side) and then thread on the knobs. Some people have said they needed to sand down the part of the knobs where the threaded hole is on them because their threads weren't deep enough to tighten all the way. I didn't have that issue.
My first key didn't work. Why? For some oddball reason I used the stub drill (for dimple keys) and made the channels. I am a hobbyist watchmaker and have hundreds of end mills and tiny 0.4mm on up drill bits. I know the difference between a drill bit and an end mill. Derp!
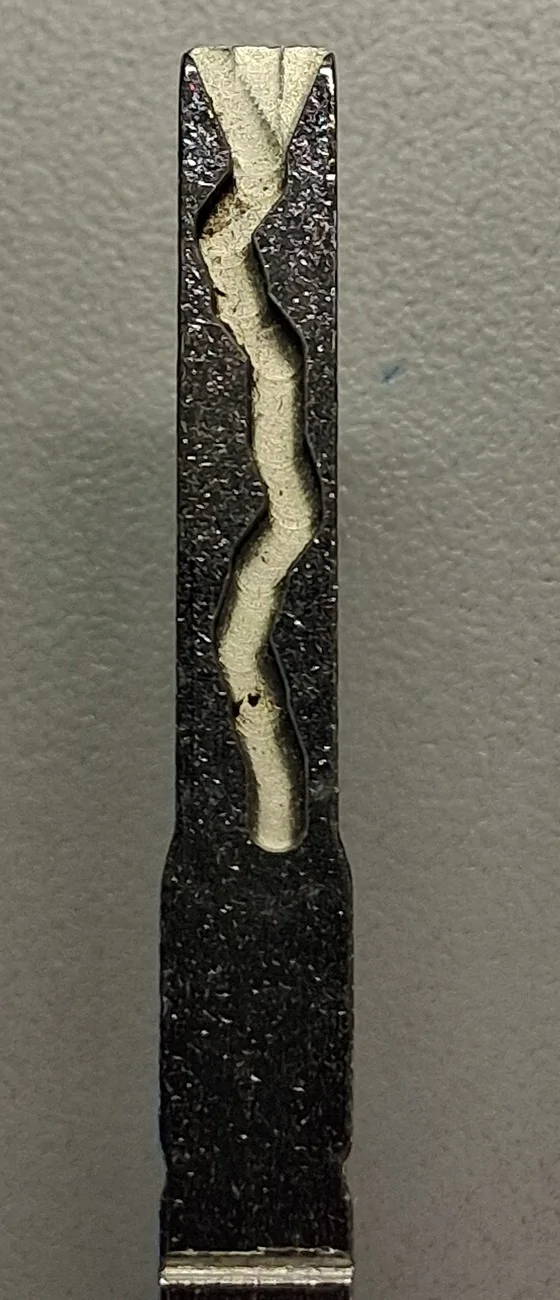
The dimple key bits they include will cut a channel, but they will be rounded edges where the sidewalls meet the bottom. The commonly available accessory kit comes with end mills that have a flat bottom cut. These make a crisp 90 degree wall to floor transition in your channel groove.
Flat bottom end mills CANNOT be plunged into the key blank---that is what drill bits do! You have to enter the groove from the tip. Many types of end mills can plunge cut, but these flat bottom ones aren't good for that.
So, how did my second key work?
Well, I cut only one side at first and tested: no good. Went back inside (it's 5F degrees right now in Michigan) and cut the other side. FANTASTIC!
I tested on the tail gate because it has a very positive click for lock and unlock; plus if I broke it my door would still work. LOL!
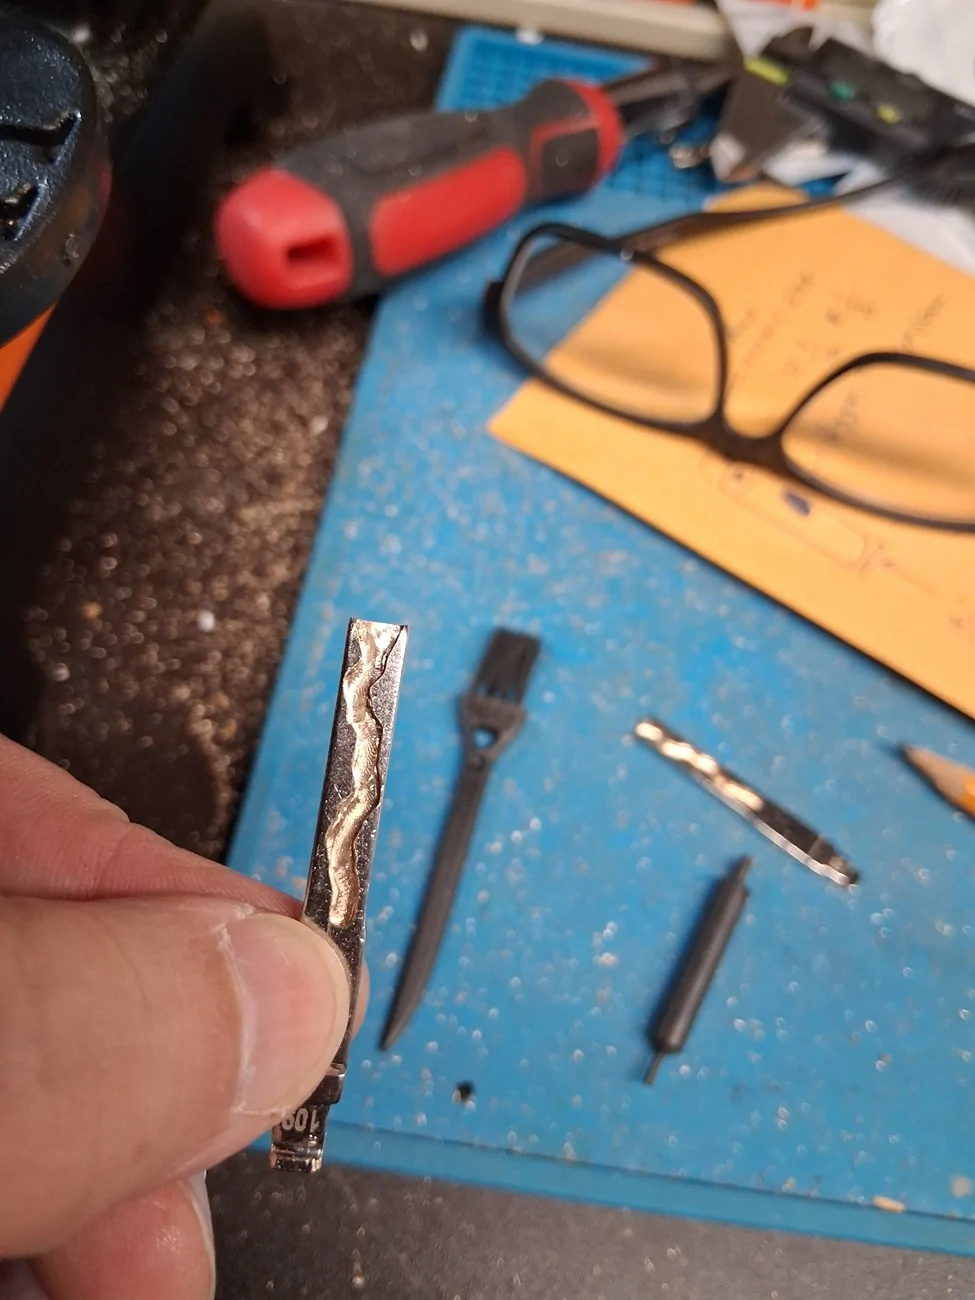
The key for the driver's door has a mushy feel to it. Hard to turn, but with a pair of pliers and a LIGHT touch I unlocked the door. I'm going to drill a little hole at the rear end of the key blade so I can still a little wood-working nail with both ends cut off and sand smooth into the hole to use as a turning lever (called a tommy bar in machining).
The key is now in my wallet.
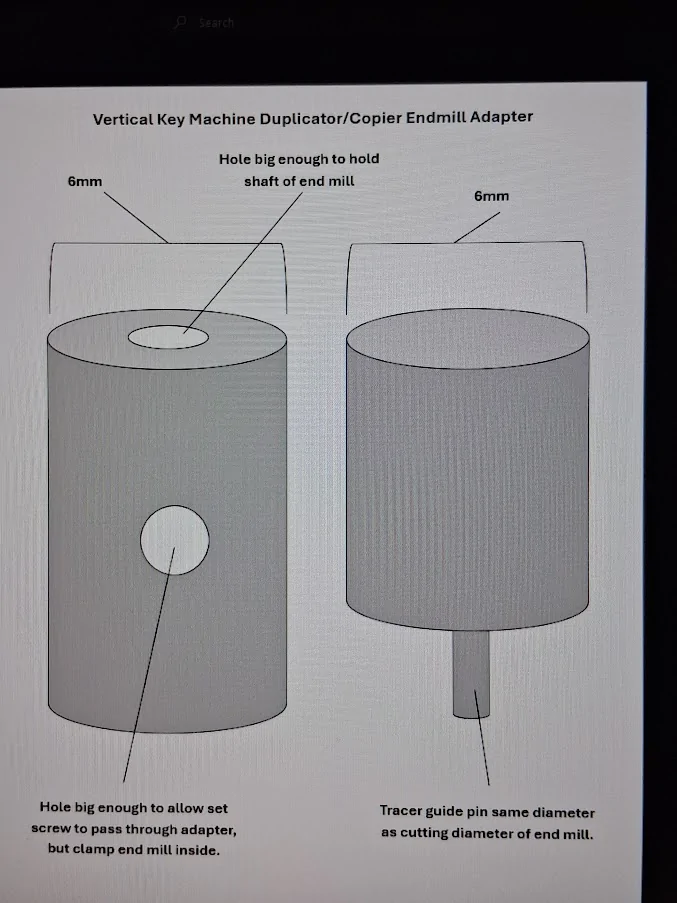
If you have normal sized end mils with not 6mm shafts, you could make a brass adapter for the cutter side. You could also make custom sized guide pins for them too if the cutting portion isn't covered by the provided tracer pins:

Say you want a really good key. Get a 1mm end mill, drill the hole in the adapter to accept whatever diameter the shaft is--the shaft is usually a larger diameter than the cutting portion's diameter--but not always. Then make a tracer guide that has a 6mm portion and a small 1mm little nub that actually traces the original key's channel.
When I used the copied key to unlock my truck the alarm did not go off, which was nice.
Now "Mini" can't lock me out of my Maverick ever again...