Effect of Gamma Irradiation on Polytetrafluoroethylene
Polytetrafluoroethylene (PTFE) is a synthetic polymer of tetrafluoroethylene. A sample of this material was left in intimate contact with a 1 microcurie radioisotope source of Cesium (Cs-137) for 2 weeks.
Control sample showing intact edges and opacity with minimal granularity
Irradiated sample shows unraveling of edges.
Gamma irradiation frees fluorine and depolymerizes (more accurately photoinduced polymer degradation: photolysis / photodisassociation) the PTFE into granules.
The gamma ray energies emitted by the radioisotope equal 661keV.
Control sample showing smooth, homogeneous surface and edges.
Pyrolytic graphite is poly-crystalline graphite deposited at high temperatures by thermal decomposition (lysis) of a hydrocarbon. Basically they obliterate carbon (or some organic) with high heat and it deposits back down into honeycomb shaped sheets...or they blast methane in a near vacuum with high heat and it vapor deposits back down into a single layer of graphite that is highly ordered and build layer-up-layer, but can easily be separated. These sheets are diamagnetic: they push away from a magnet by creating an opposing magnetic field to the magnet’s field. So, what can you do with it? Levitation! There are many experiments showing a magnet floating between two pieces of pyrolytic graphite with a much larger magnet overhead. What a boring waste: the opposing magnetic force the graphite creates is so tiny that it can’t lift the magnet…so they use a big magnet above to do the lifting and then the graphite bounces it up and down to center it in mid-air. Here’s an easier idea: but a bunch of magnets on a table and then flop the graphite on top of them: instant hoverboard! A neat little trick if you've got a bunch of pieces of pyrolitic graphite (which I do) is to split them sheet-wise with a knife to get two thinner sheets from a single thicker sheet. Anyone whose played with the mineral mica knows how to do this. Thinner and thinner also means lighter and lighter and thus easier to float higher and higher from the magnets. The layered structure plane has strong covalent bonding but weak electrostatic bonds between planes which leads to a high degree of anisotropy (it’s various properties are directional: like it’s easier to crease cardboard in certain directions but not others, etc.). Thus, the magnetism is very perpendicular to the sheet (which is why is hovers away/up from magnets). Is pyrolytic graphite new? Nope. It's been studied in textbooks since at least 1960! So, basically get four or more magnets and put them on a steel sheet so they don't slide around. For the first time ever I actually shattered a rare earth magnet by having it slide towards my 1" cube N52-strength magnets. It was amazing and annoying and spit tiny slivers of the non-magnetic chrome coating everywhere.
A great way to handle these is to use wood handscrew clamps. They're for wood working. I clamp two magnets in two separate wooden handscrew clamps with the face of the cubes NOT extending past the front of the clamp. That way you can ease them together.
Also, I used a compass. The face that the North of the compass points to is south on the magnet. Obviously, where the south of the compass points is the north pole of the magnet. Yes, the poles of the Earth are mislabeled.
I needed to make a checkerboard pattern of north and south faces pointing up for my pyrolytic graphite levitation setup-although the height of levitation i achieved doesn't really grow with more powerful magnets.
If you get cylinder magnets you can make two columns side by side with the columns made of cylinders end to end. In the long trough between the two columns you can float a piece of 0.5mm mechanical pencil lead.
Neutron Activation of Manganese Using Am-241 and Beryllium
Here's a quick little neutron oven I piled together.
Radioisotope AM-241 gives off alpha radiation.
Beryllium hit by alpha radiation gives off neutrons.
Neutrons hit Manganese which gets irradiated and changed--also giving off gamma radiation.
Gamma radiation serves as the indicator that activation has taken place.
Our victim: good of Manganese Dioxide. It's a black power. I put some in a zip lock baggie for the test. Underneath the bottle is some hdpe plastic. Not really needed, but it's important to note that some elements need slowed down thermal neutrons to be activated. Supposedly, Manganese can be irradiated by fast (unmoderated) neutrons--thus I don't really need the hdpe plastic to slow them down, but what the heck: I've got tons of moderators: hdpe, paraffin wax, wax with boron in it, etc.
Final cap containing additional AM-241.
Various Am-241 sources piled on top of a piece of beryllium. The beryllium came from a defunct x-ray machine.
Awesome old ionizing smoke detector. It has 80 micro curies of Am-241 in it, instead of less than 1 micro curie like modern smoke detectors.
The unused portions (for my work) of the smoke detector.
Here's the cap portion of the smoke detector. So many people overlook this part, there are two little rectangular foil ribbons on the inside that are also AM-241!
Here's the big-boy AM-241 source. Yes, there are three sources in many of these big old smoke detectors!
The radioactive part is under the little cap at the top of this photo.
See that screw in the center? That's the adjustment screw that you can use to adjust how much AM-241 is exposed from the third AM-241 source when the smoke detector is in use.
Pyr-A-Larm (Pyralarm) smoke detector. This one is an F 3/5A and was just loaded with Americium 241 radioistope sources. Three in all! This is the "before" photo before I started disassembly.
These are always on eBay for $120, but sometimes they pop up for much, much less. Just be patient.
From reading the works of Carl Willis I found that radioactive manganese has a half life of about 2.5 hours, so you should let it irradiate in the neutron fluence for double that.
I'm not sure my gamma probe will be able to detect this low amount of gamma, so I may have to let the sample sit for a half-life or two in my gamma spectrometer setup. Results to follow later and will be posted here. Busy at work and I don't have time to babysit a 5 hour gamma spectrometer run :) Update: here's a pic of my gamma spectrometer after only two minutes. Notice the huge peak at 823mev! Success!!
Just a quick update to my paper polygon post (http://michaellogusz.blogspot.com/2015/05/paper-polygons-and-rosetted-logusz-cube.html) with a toothpick and rubber tubing Icosahedron.
It was something fun to do while waiting for my pyrolytic graphite and 80uci Am-241 radioisotope to arrive. Yes 80 not 0.80, eighty micro curies of beefy alpha radiation to feed my polyethylene neutron oven.
So, I decided to make a box kite out of it.
With the scraps I made a teeny tiny box kite.
Fold the edges over.
There is a fascinating biopesticide that uses a virus occluded in a polyhedron shaped crystal. It's called Nuclear polyhedrosis virus (npv). It mechanically reproduces in beetle bodily fluids.
This is the unedited download of photos and quick notes from my successful quest to create sonoluminescence in my lab.
Sonoluminescence: if you vibrate water to ultrasonic frequencies (like a jewelry cleaner) you can get bubbles in the water to GLOW IN THE DARK!
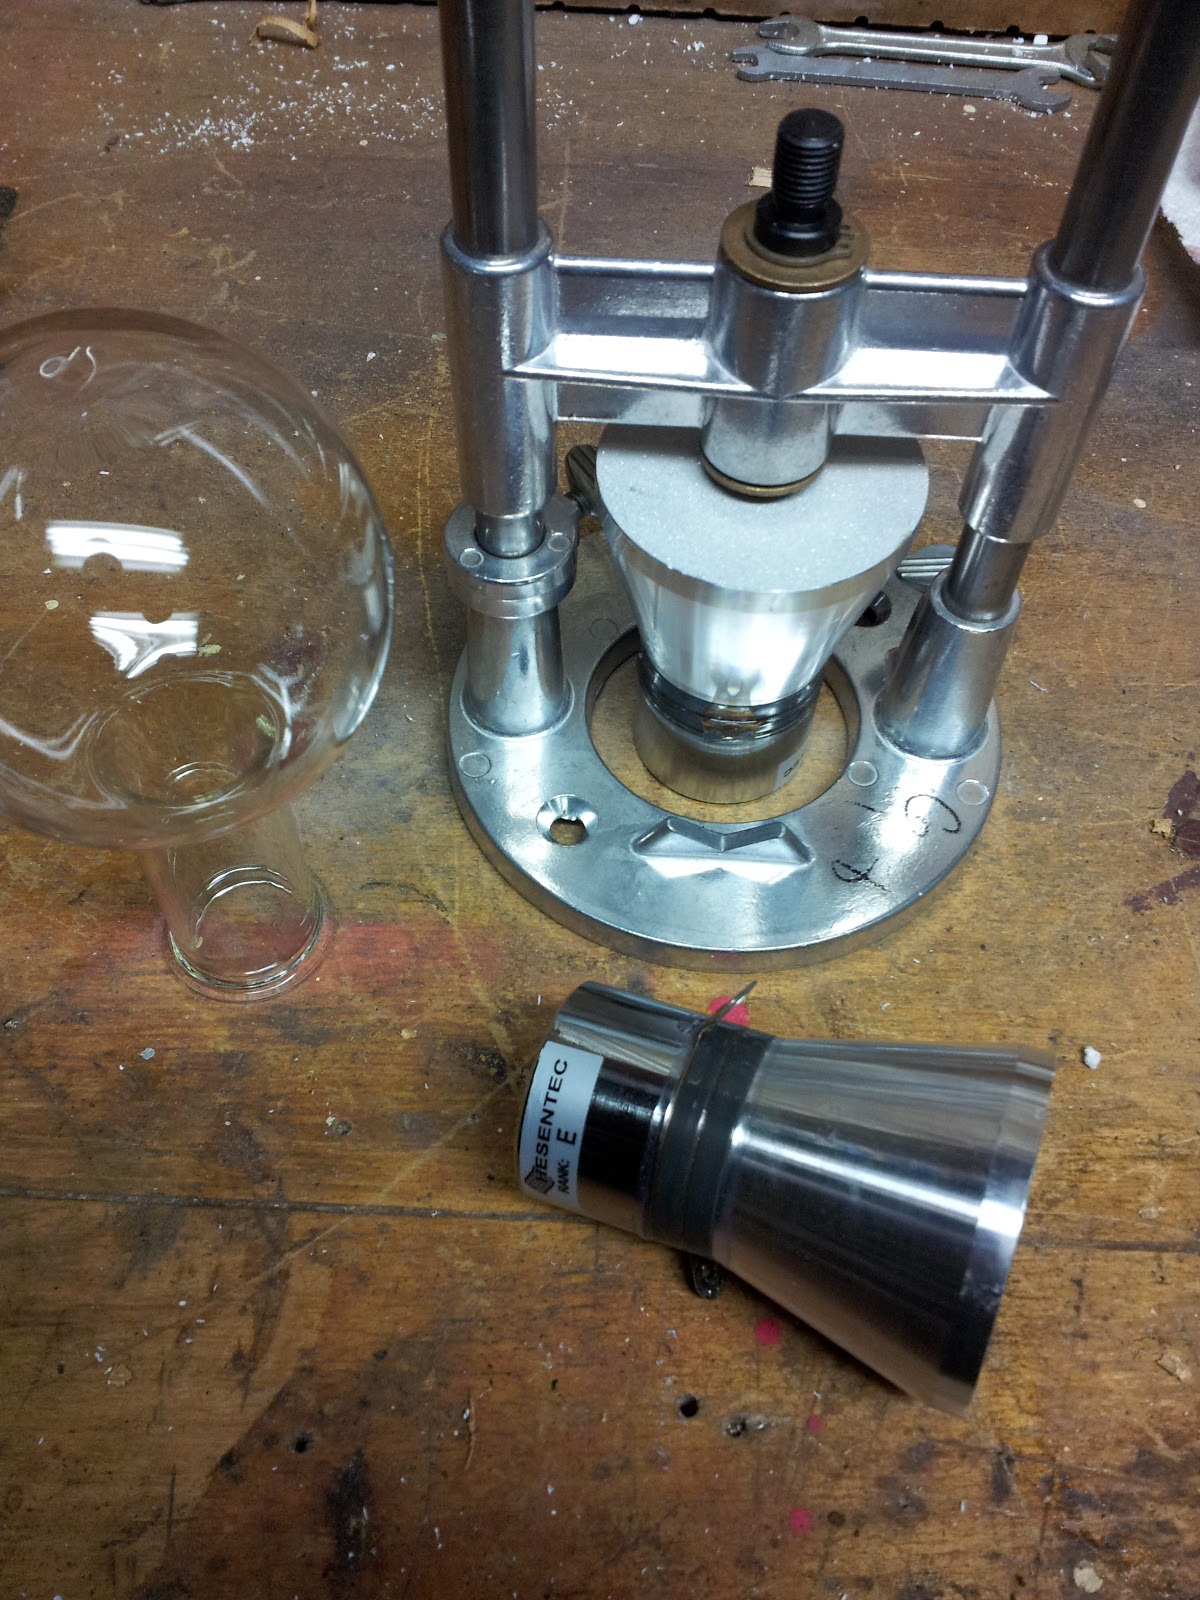
I started by poring through the available literature on sonoluminescence, which is meager to say the least. I found that even though most seem to think that a spherical flask is needed-the only sonoluminescence kit on the market features a rectangular flask with hard edges and corners.
People say you need two transducers to make equal but opposite waves to create a standing wave, but I was able to trap bubbles better with a single transducer.
I obtained sonoluminescence with a single transducer located in two different positions (bottom or one equatorial side of the sphere). When the transducer was mounted on the equator, the whole apparatus tilted in the ring stand mount...but I got sonoluminescence just the same!
People say that you need a 25.1kHz or 25.7kHz wave for a 150mL flask. I found 24.23kHz and a few other frequencies induced the glow. Size of flask determines the frequency. Also, according to some: the temperature of the water and the amount it has been degassed plays a part...and that a 100mL flask worked better.
People say that you need a sine wave. Chen, et al found that triangular waves worked best!
People say that you need an oscilloscope to find the resonant frequency of your flask. I used the oscilloscope method, yet found it was faster and easier to just listento when the flask vibrated much more loudly than before while I twisted the knob on the signal generator.
People say you need to boil distilled water to degas it and that it will ruined after adding a few tiny bubbles, or go bad and need re-boiling after a day or two. I found that it doesn't matter: a bubble is a bubble and water is water.
People say you need to add a single bubble, ever so carefully. I took the eyedropper off of my original elegant design and stuck the tube in my mouth and blew hugebubbles into the flask to prime the flask for cavitation. This worked over and over successfully, over the course of days without fresh water.
So, is obtaining sonoluminescence difficult? No, just as long as you realize with water at room temperature the glow will be extremely dim so that you will not be able to see it unless you're in a very dark room with your eyes dark-adapted for at least 10 minutes. I worked for years in a photographic dark room...when I mean dark I mean no windows, at nighttime and with the door shut and the lights off in the room next to the room you're in: DARK!
The colder the water, the brighter the glow will be though: around 0° C seems to be the best temperature, as far as the literature is concerned-although as I've already seen, the scientific literature is not always correct.
Another pain: you need to put dark film over your signal generator readout window, and also it's best to build a cardboard box/light-shield around your ring stand to block out stray light.
Basically here's all I did:
Epoxy a 60 watt 25kHz piezo transducer to the bottom of a 150mL spherical flask with a round bottom.
Fill with distilled water and mount in a ring stand. Feed a sine wave from a signal generator to the *piezo transducer and listen until the whole thing vibrates louder (somewhere around 22kHz to 26kHz).
*My signal generator allows me to set the amplitude of the output up to 20 volts peak to peak, even so I elected to add a cheap $15 amplifier circuit board thingy from Amazon: I'd rather blow out an amplifier from Amazon than the output circuits of my signal generator. Even so, I was able to trap bubbles easily without the amplifier and without any need for an addition inductor circuit.
The super awesome $55 signal generator is "KKmoon High Precision Digital DDS Dual-channel Signal Source Generator Arbitrary Waveform Frequency Meter 200MSa/s 25MHz." Note that this goes up to 25mHz (Mega hertz)...but we only need 25kHz (Kilo hertz)! Make sure you signal source can go all the way down to 25kHz (kilo kHz). Some can't get down that low (or high, depending on its main usage).
The cheap amplifier is on Amazon, listed as "DROK TPA3116 Digital Power Amplifier Board 12-24V High Power Amplifier Module 50+50W Power Amplifier Chip with Volume Adjustment Potentiometer Switch Support PBTL 100W".
The 150mL flasks I used were only $5 as an Amazon Prime Add-on, but right after I bought mine the price went up to $45, LOL! "United Scientific FG4260-150 Borosilicate Glass Round Bottom Boiling Flask, 150ml Capacity (Pack of 6)".
The flask I used to heat water (not totally necessary) was "Corning 4980-500 PYREX Narrow Mouth Erlenmeyer Flask with Heavy Duty Rim, 100 mL capacity-500 mL capacity Graduation Range, Rubber Stopper Number 7, 101 mm Diameter". Amazon lists it as taking a number 7 stopper but it does NOT come with any stoppers!
The stoppers for the flask: "Rubber Stoppers - Size #7 - (Pack of 3) Karter Scientific 216R2".
I had the fish tank aerator hose laying around, but the capillary tubes were "GSC International 50001 GLASS Gsc GLASS Capillary tubes, 75 mm Length, Open on Both Ends (Pack of 100)."
The cheap, tiny piezo transducers only used to feed the oscilloscope and totally not needed except for fun were: "15 Pieces - 20mm Piezo Disc Elements with 4" Leads - Acoustic Pickup - Cigar Box Guitar CBG - Touch Sensor." This is what others refer to as their "sensing" piezo.
The other end of the sensing piezo goes to the vertical input of an oscilloscope. Again, this is totally unnecessary-but fun! If you don't have an oscilloscope don't worry: it's easier to just listen to when the ringing of your spherical flask gets way louder and higher pitched at a certain frequency!
The HUGE transducers sold out after I bought mine for about $22 each. On Amazon, just search "25KHz 60W Ultrasonic Piezoelectric Transducer Cleaner Ultrasound Transducer." Make sure you do NOT get the 40kHz ones...you want the 25kHz ones! 25kHz is 0.025mHz ; likewise: 25mHz is 25,000kHz which is a LOT more than 25kHz.
Here are two of these bad boys, one on either side of the sphere! Just a single transducer on one side worked just fine too, but made everything tilt in the ring stand. If you've got just a single transducer: mount it to the bottom of the sphere-it makes everything much easier.
Here is a smaller (100mL) spherical flask that was much easier to trap bubbles in (at a different frequency of course) that also came with an orange stopper and glass tube "Round Bottom Flask -100mL- w/ Glass Tubing and Rubber Stopper - Eisco Labs Borosilicate". I suppose this isn't really needed: you could just use a hose right into the water and skip the glass tube and capillary tube. You can also see the sensing transducer rubber banded to the side of it.
A couple of these wires came in handy, along with some scrap wires to hook up the big transducers to the amplifier "eBoot 30 Pieces Test Leads with Alligator Clips Set Insulated Test Cable Double-ended Clips, 19.7 Inch."
Some of the photos show various more complicated setups. Like my plasma demonstration fusor build, I find that less is more: better, faster, cheaper and easier to operate in the dark.
Fish tank air tube > glass tube > rubber stopper > epoxied in a capillary tube for smaller bubbles. The other end is an eyedropper, which I removed in favor of just blowing into the tube: worked better and freed up my other hand.
I opted to use a cheap little amplifier board purchased off Amazon for less than twenty dollars. The important thing was an AC power supply that could supply up to 5-6 amps! Most power supplies give less than 1 amp.
This power source for the amplifier is on Amazon, listed as "Kastar LCD AC Adapter 12V 6A with 3-Prong Power Cord Power Supply for LCD Monitor and LCD TV". You need lots of amps for this!
I tried the setup without the amplifier and it also worked, but I had to set the amplitude setting on my signal/function generator to 10-15 volts. This made me nervous about blowing the amp section of my signal generator-as opposed to the cheap amplifier board from Amazon.
Absolutely no inductor coil was needed in either setup.
For a dollar I bought a weird piece of equipment. I think it was for a hand-held router, to make a plunging/depth setting? I got it at Disabled American Vets (DAV) resale shop--much like a Salvation Army resale store. I was going to use it as a spare ring stand, but I put a transducer on the bottom, the spherical flask in the center and the other transducer on top: then I added Loctite 1C two-part epoxy and glued everything together.
Please note that Loctite (and may two part epoxies) does NOT like to be glued to previously dried epoxy. If your transducer falls off: you need to scrap, gouge, sand off the epoxy and basically use a new spherical flask (which is why the 6-pack on Amazon was such a great deal). Or you could clean the epoxy off the transducer and mount it on a part of the flask that doesn't have any old epoxy on it.
Of course, using these devices more and more I've experience failure of the epoxy and tried plain old super-glue (the kind that's the gel so it's easier to apply)!
Various readings with a cheap Amazon transducer rubber banded to the flask. It was like $5 for a dozen of them. People use them to make cigar box guitars with. They are cheap little disks like you find as the buzzers in smoke detectors (which you can harvest for radioactive AM-241).
As I stated earlier, you can just listen and you'll know when you found the correct frequency, but I wanted to use my 60 year old oscilloscopes for something fun for once.
This is a really adequate sine wave: keep in mind this is measured with the tiny, 75 cent piezo rubber banded to the flask and fed into a 60 year old oscilloscope, LOL. That's why it's sort of leaning backwards. With a litte fiddling you can get it perfect-but who cares, the important thing is that you're trapping bubbles and hearing the LOUD screech. The oscilloscope doesn't really matter.
Here's a photo of one of the cheap Amazon transducers rubber banded to the side: the wires go to the oscilloscope.
Here's the readout on the $55 signal generator. It says 24.95kHz and the amplitude is set to 10 volts. The amplitude in this case is just the "output volume" of the signal generator. Please note that this section of signal generator settings vs oscilloscope was when I was using the smaller 100mL spherical flask and not the 150mL.Either way: use what works with your flask/vessel. You can use rectangular boxes like a small aquarium and it'll be much easier to do the math on your standing waves analysis...plus you can more easily trap TWO bubbles at the same time (each 180 degrees out of phase from each other)...or just do a boring sphere like everyone else :)
Looks cool, but not a nice clean sine wave, LOL! Lissajous lines/figures as a result of odd/even natural numbers, since this Lissajous knot is open it's not a rational number. NONE OF THIS MATTERS FOR SONOLUMINESCENCE...it's just fun to see on the oscilloscope.
Here's something cool I tried that also worked: a neighbor threw away an LG flat screen television because like most LG flat screen TVs the damn LEDs burn out every 8 months. Bummer! Anyway, I ripped out the sound section from the TV and used it as an amplifier between the signal generator and the transducer.
As stated before, the colder the water, the brighter the glow...but room temperature water is just fine too. Here's my flask of water cooling: note that about half the water is gone from the superheating explosion detailed below.
Here's a boring video showing right after the distilled water I boiled got superheated and exploded. Plus and "after" with a toothpick to provide safe nucleation points. Distilled water, or tap water in a smooth vessel can't bubble-thus it doesn't boil. It gets hot (or hotter) enough to boil but doesn't bubble. Then, if you touch the vessel or coffee mug or glass or put something into the water like a spoon, sugar, your lips, the water will all boil at once: a HUGE dangerous bubble all at once.
If you are heating distilled water, place a toothpick into the container before you start adding heat. If you forget to add the toothpick do not add it after you begun heating: it will cause the water to explode!
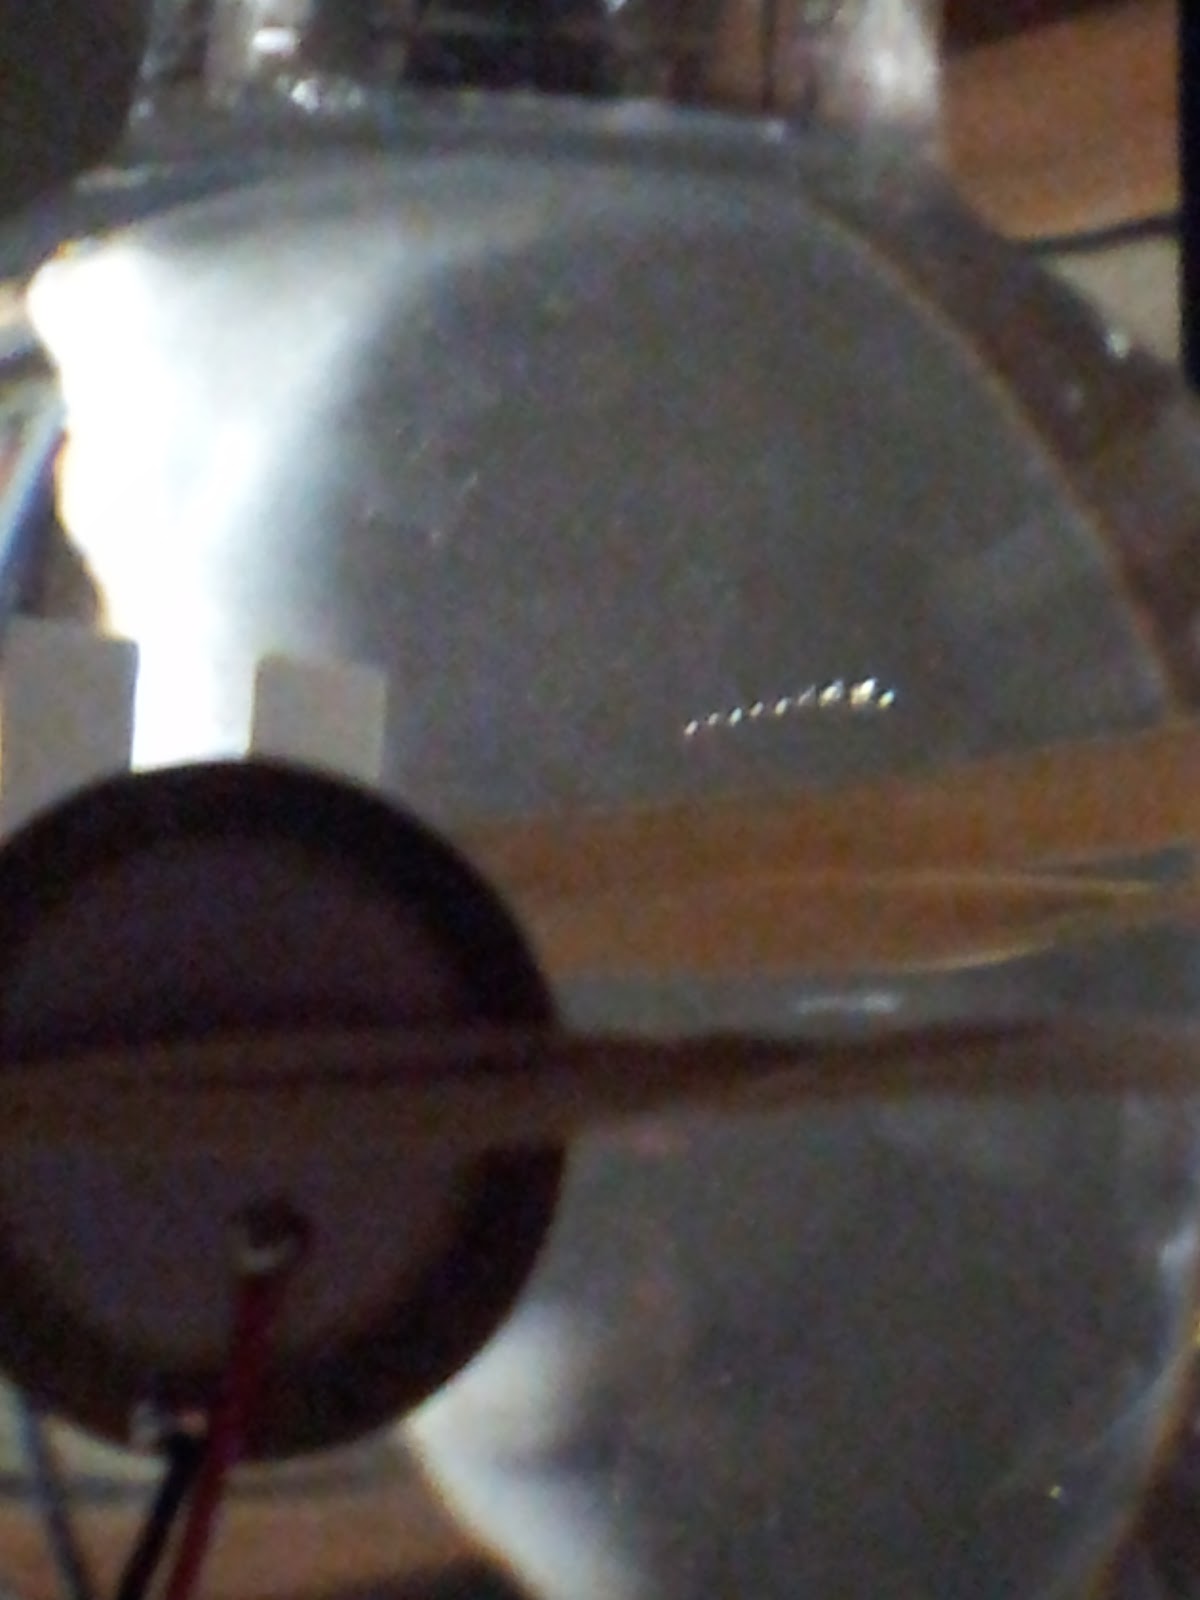
The glowing water is almost as dim as my sphintheroscope (see my other posts). For that you need to wait 30 minutes in total darkness. Sonoluminescence with room temperature water with my setup takes about 10 minutes of sitting in darkness for the eyes to adapt.
What does it look like? Glowing swirls every time I breathe into the bubbler tube. As I tune the signal generator and get an extra high squeal and then breathe the swirls condense into a single glowing point! So, I was able to create and experience multi-bubble sonoluminescence (MBSL) and single-bubble sonoluminescence (SBSL).
Like a swarm of fireflies whisked up by a strong summer breeze...only to leave a single one hovering inches before my eyes.
I saw a firefly before my eyes once...it was delicious. Meow.